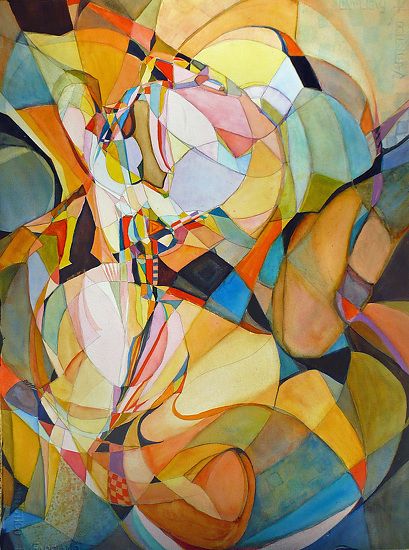
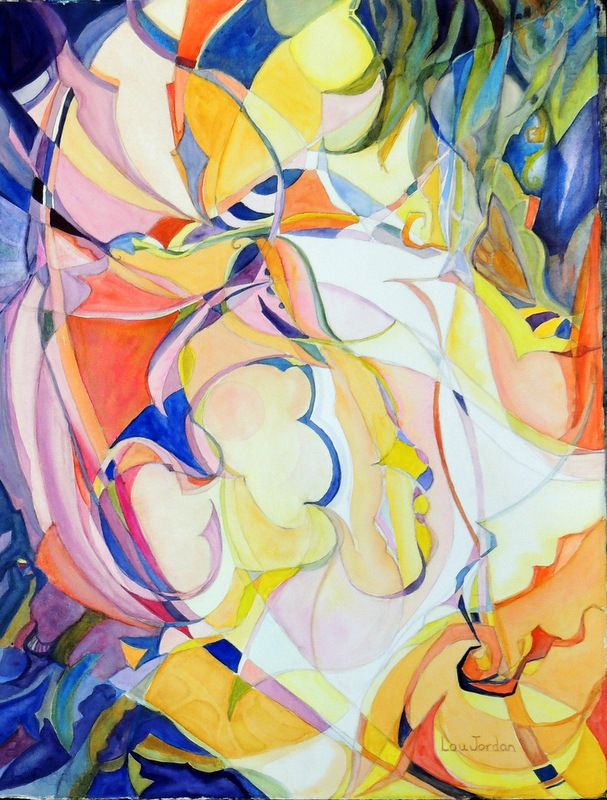
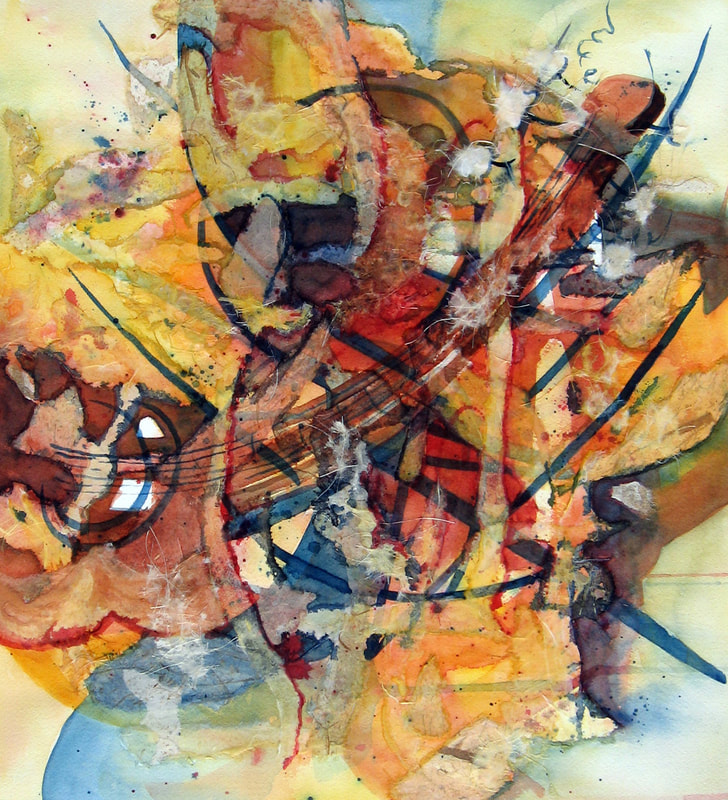
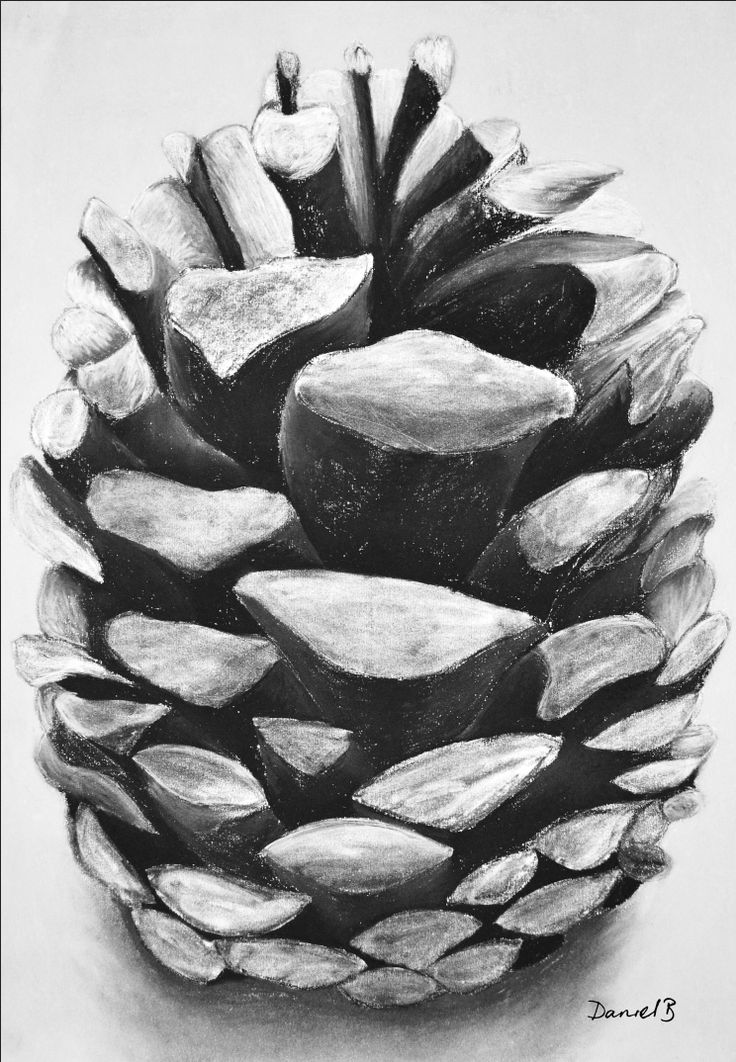
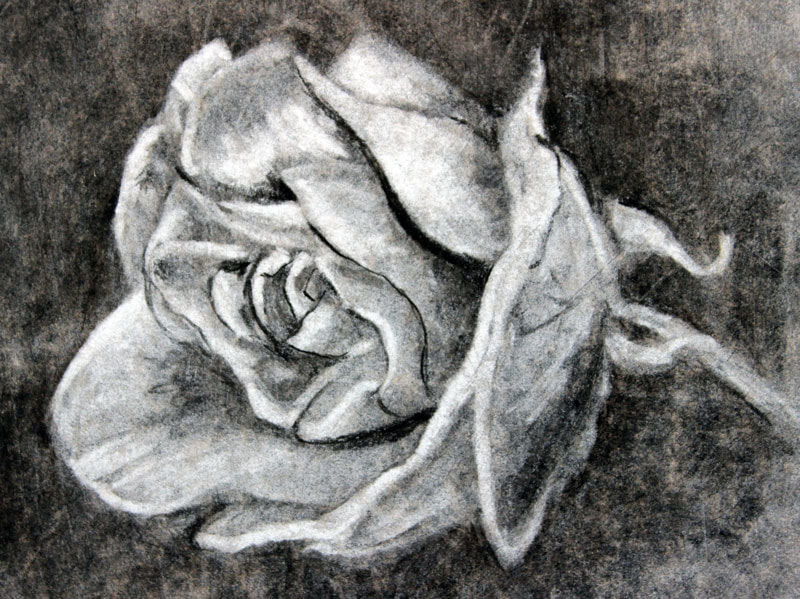
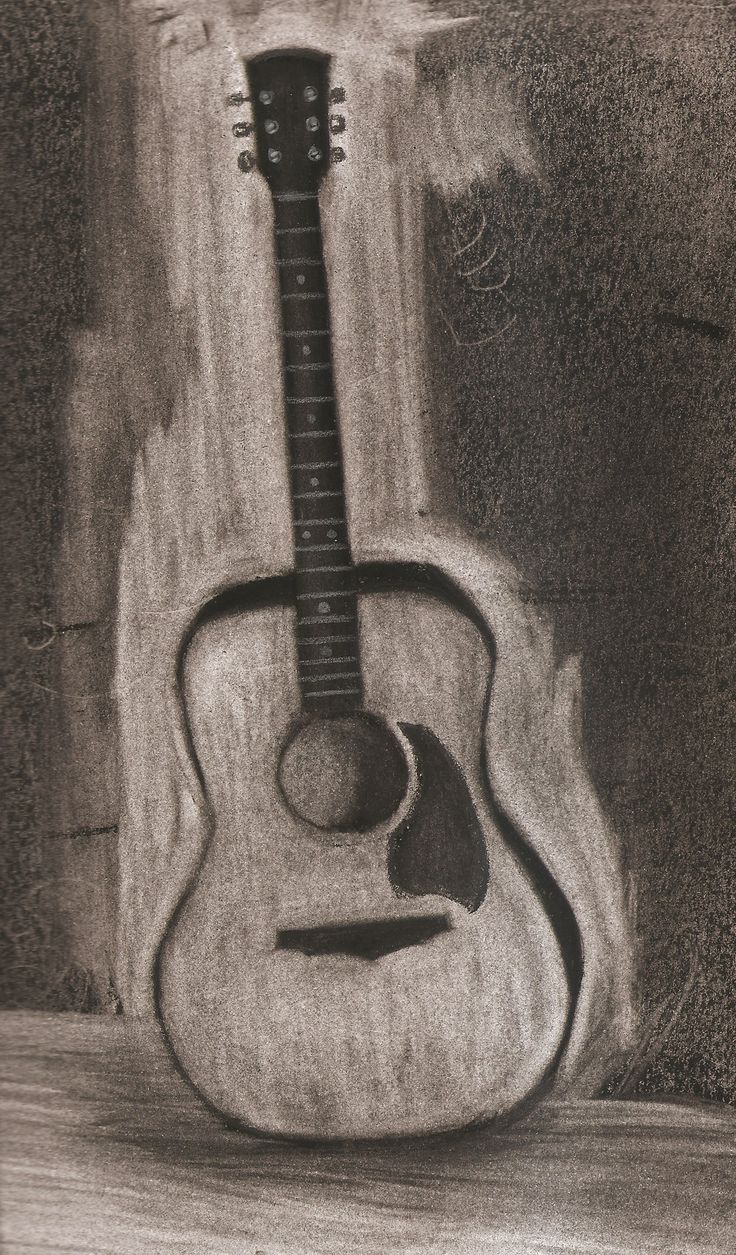
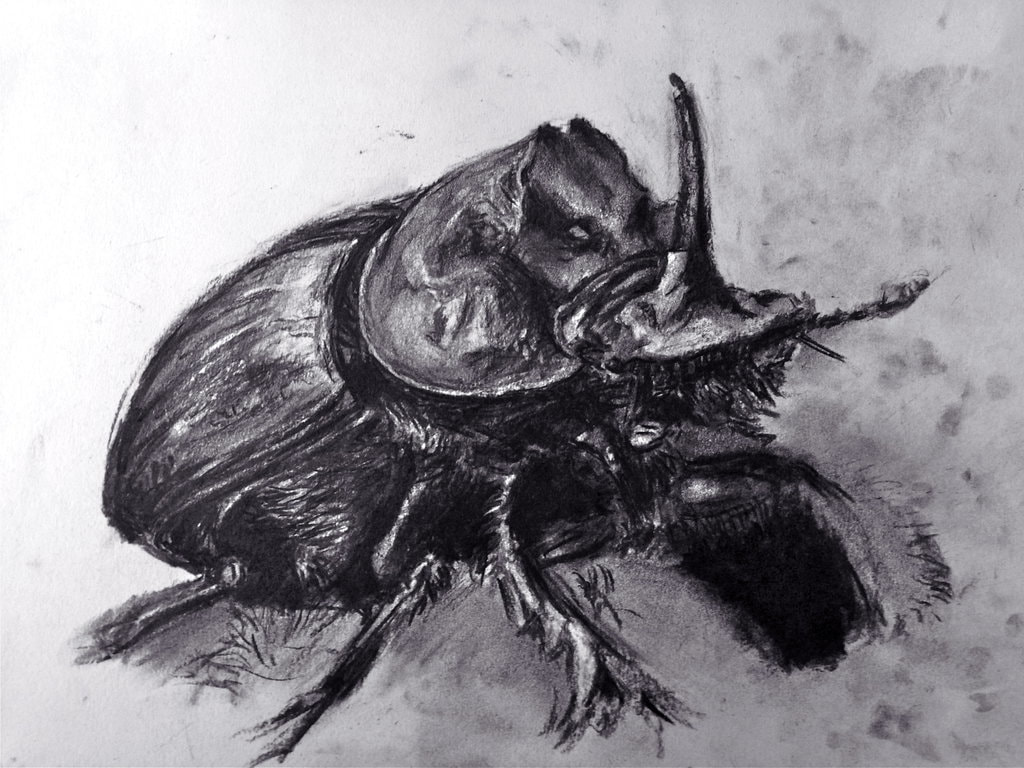
Some Sequential Art ExamplesColor Mixing -- a few optionsThe goal is to mix colors in an artistic way and learn what happens when we mix different colors with each other. We will do this with one or a combination of different mediums; we can use chalk pastels, watercolor pencils, markers, and/or watercolor paints. As long as we meet the goal of mix colors in an artistic way, we can work abstractly or representationally. The Mediums:
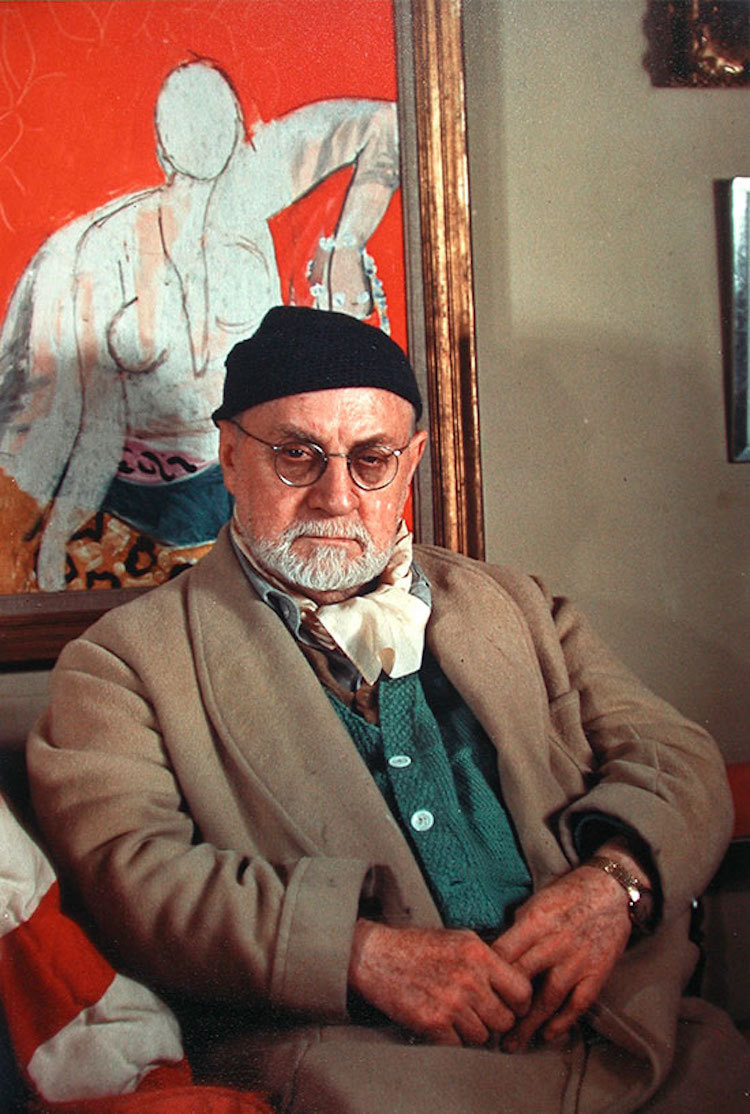
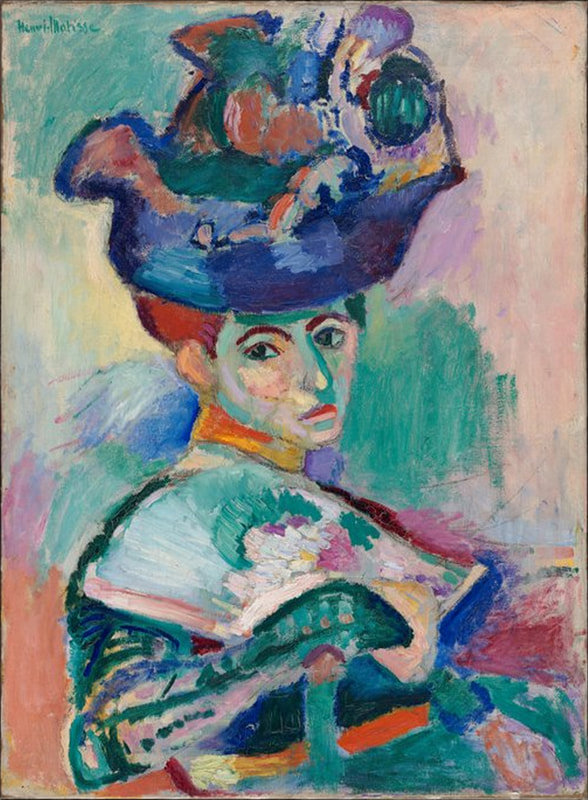
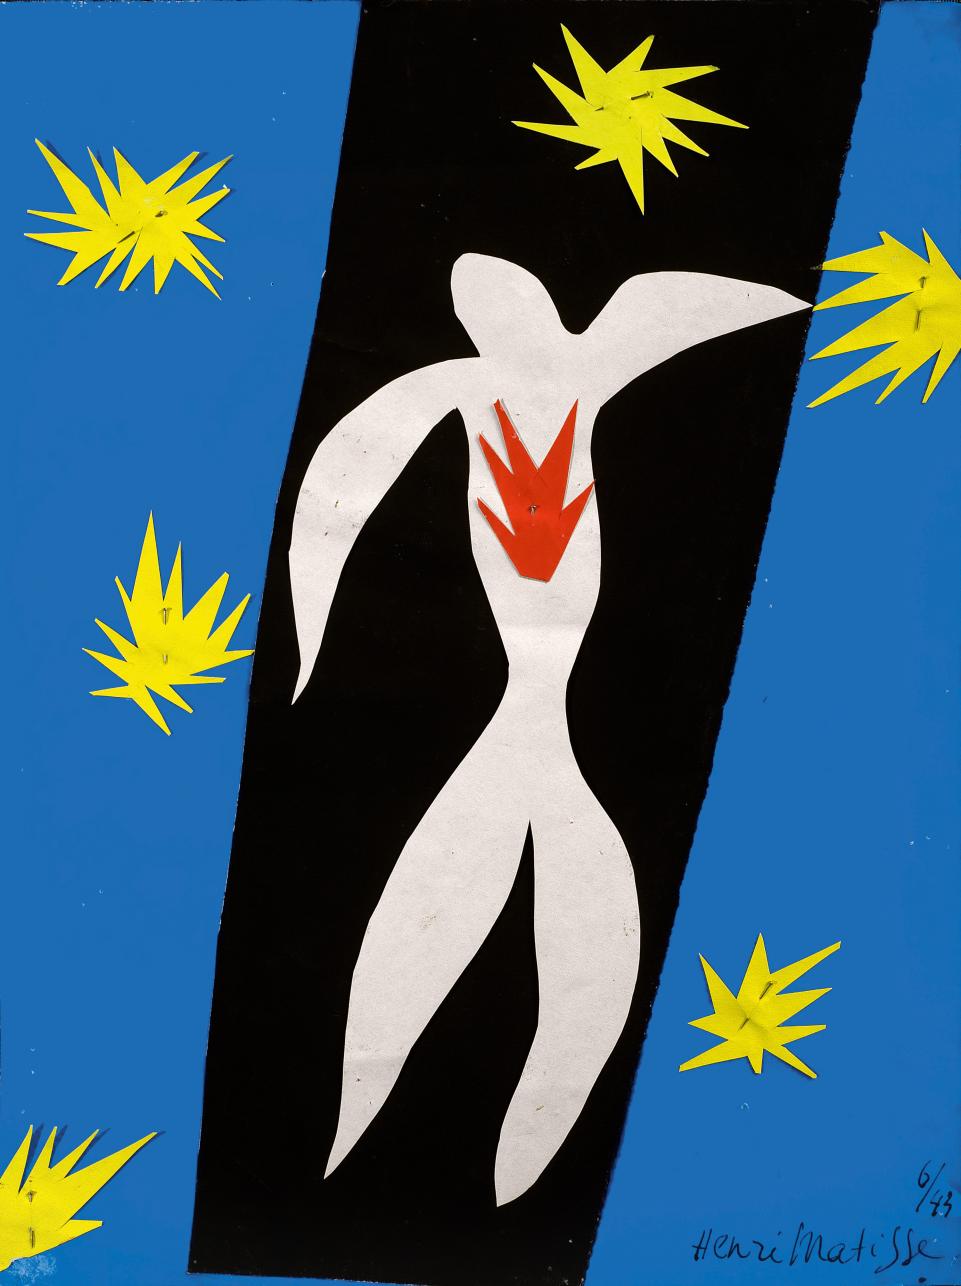
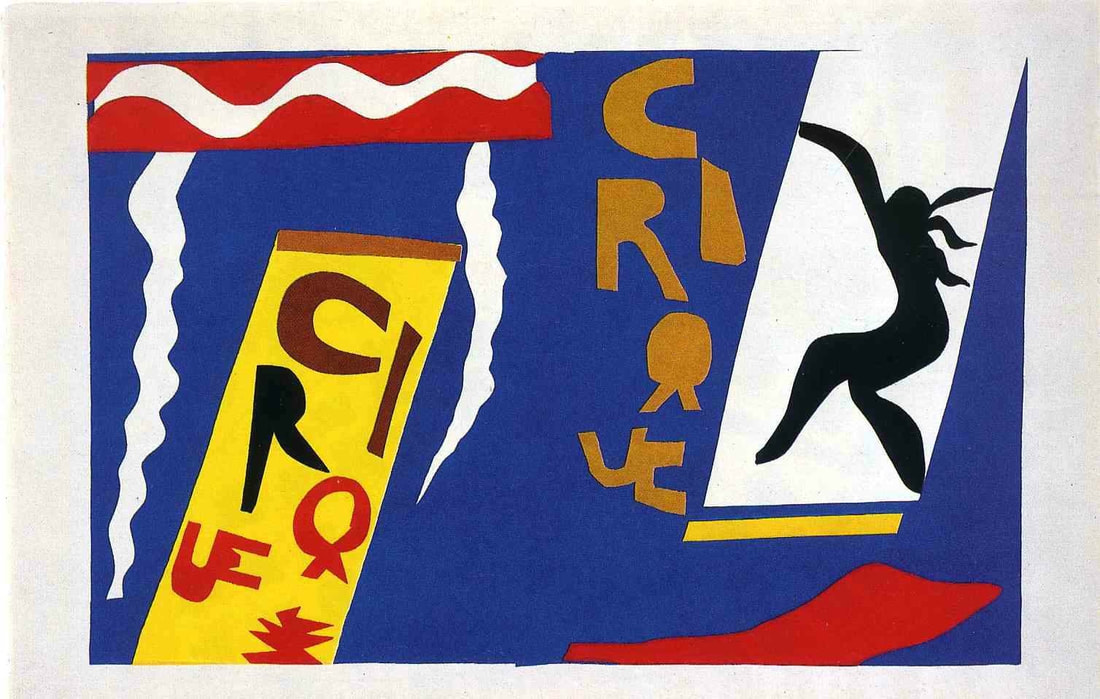
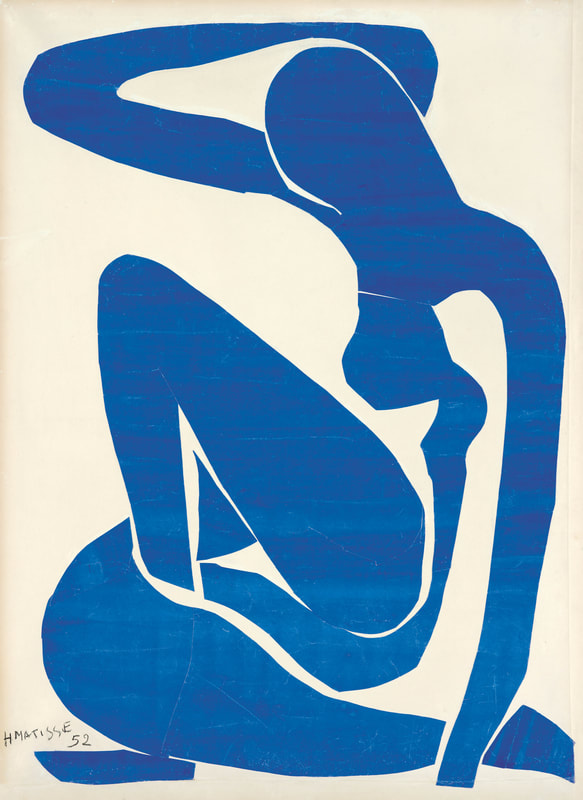
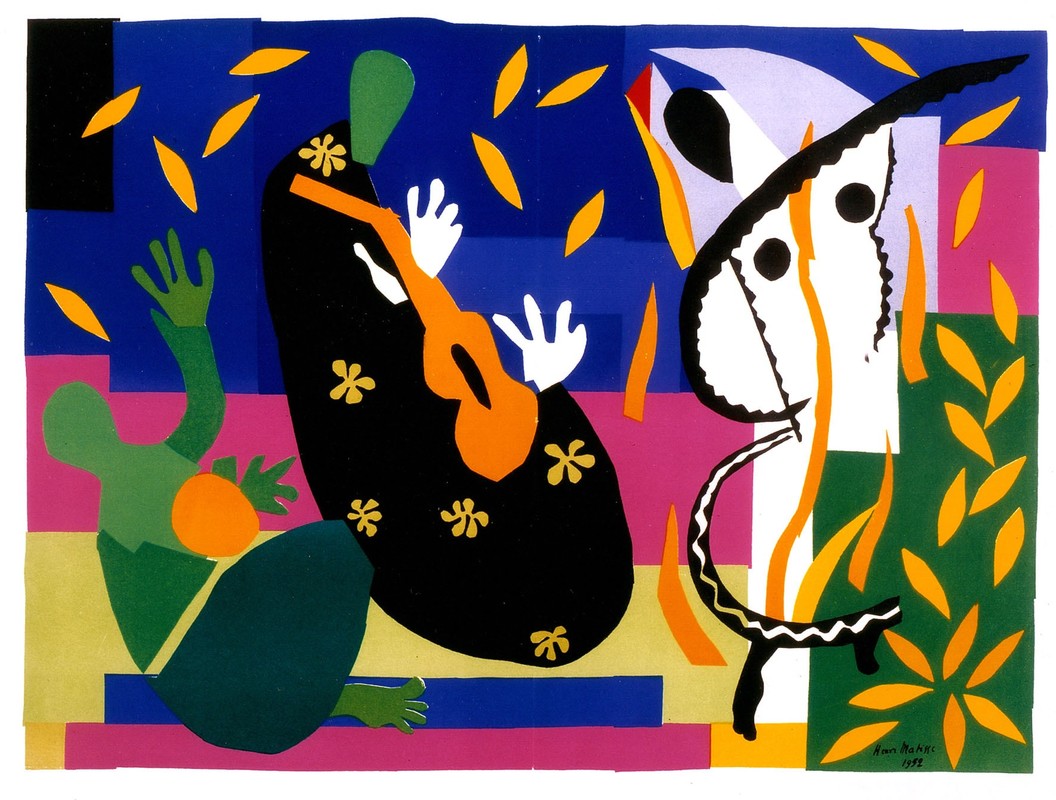
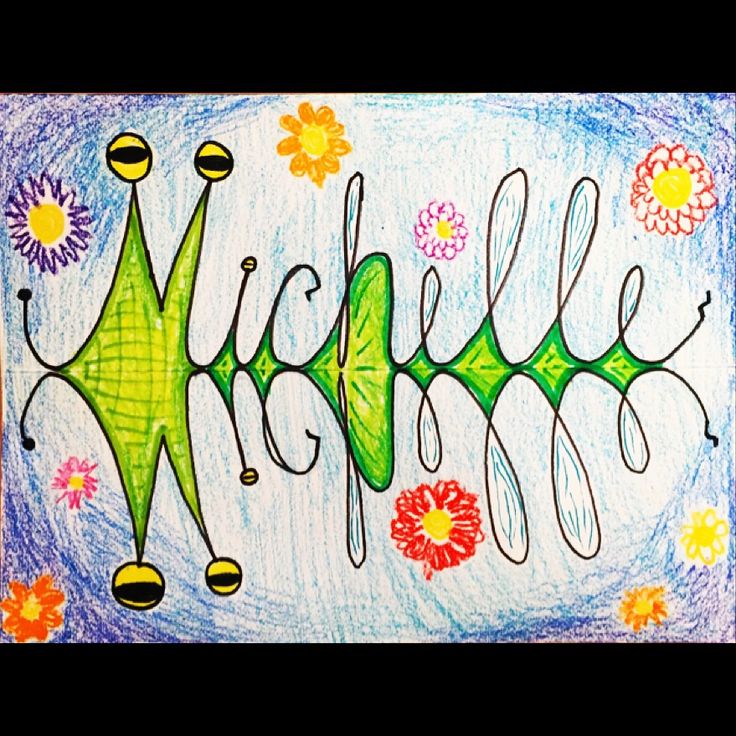
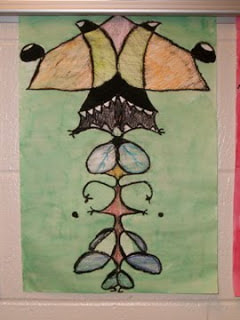
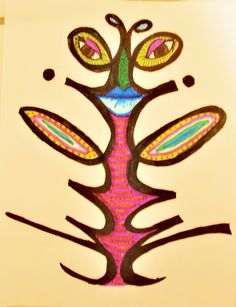
Also, if you do choose to use watercolor paints, be sure to use a thicker, heavier, stiffer paper; otherwise, it will disintegrate with the application of a wet medium. Are you looking for more structure, but don't want to be tied down to the trappings of representational art? Try your hand at abstract expressionism.Using a pencil, start scribbling in a circular motion; one long line all over your paper. Keep your pencil in contact with the paper at all times, making the scribble in one long motion. Cross often over the lines you have made. Stop when you see there are enough lines on your page. Fill in the areas with watercolor paints and watercolor pencils in layers, to create blends of colors. Are you looking for more structure, and but you don't like the aesthetic of abstract art? Try applying a spectrum of color to a representation of an everyday object.Draw enlarged outlines of your subject multiple times on one piece of paper. Decide on placement and size to make the composition visually interesting. Your subject should touch the four sides of your paper, and may appear to continue off the paper. Fill in each shape with watercolor paint and watercolor pencils in layers to create blends of colors. You can use fine-line black marker to define the edges of your final composition. Are you looking for less structure? As long as you are blending colors with the materials and techniques described above, you are free to experiment.VocabularyShape: a shape is a two-dimensional area with a recognizable boundary. Figure and Ground: the perceptual tendency to divide visual patterns into two kinds of shapes with the figure(s) appearing to be on top of, and surrounded by the ground. Positive Shape: refers to a figure. Negative Shape: refers to a shape that is part of the ground. Closed Shape: contain no (or few) negative shapes. Open Shape: allows negative shapes to penetrate. Shape Constancy: the tendency to see a shape as unchanging, regardless of the angle at which you see it. Foreshortening: making the depiction of an object appear three dimensional by "shortening the depth dimension." Size Constancy: the tendency to see the size of an object as unchanged, regardless of the distance between the viewer and the object. Organic Shapes: have irregular edges. Geometric Shapes: have regular edges, such as squares, triangles, circles, etcetera. BackgroundNotesHenri Matisse was a French artist, known for his use of colour. Matisse was initially labelled a Fauve (wild beast). Fauvism is the style whose members shared the use of intense color as a vehicle for describing light. using intense color as a vehicle for describing light has a long and pedigreed history. Diagnosed with abdominal cancer, Matisse underwent surgery that left him chair and bed bound. Painting and sculpting became a challenge, so he began creating cut paper collages, or decoupage. He would cut sheets of paper into shapes of varying colors and sizes, and arranged them to form lively compositions. Aerial perspective: The colours of the object also become less saturated and shift towards the background colour, which is usually blue, but under some conditions may be some other colour (for example, at sunrise or sunset distant colours may shift towards red). Diffuse sky radiation: The sunlit sky is blue because air scatters short-wavelength light more than longer wavelengths. Since blue light is at the short-wavelength end of the visible spectrum, it is more strongly scattered in the atmosphere than long-wavelength red light. The result is that when looking toward parts of the sky other than the sun, human eye perceives them to be blue. StepsFirst, students sketch out the composition they want to create.
Next, students cut their shapes out close together so the paper isn’t wasted Then, students draw shapes on the colored paper with pencils and cut them out. Finally, students arrange the cut out shapes on a large piece paper. When satisfied with the placement, glue the shapes in place with a glue stick. |
Archives
September 2019
Categories |


 RSS Feed
